The Logo Building Process

We get quite a few inquiry's asking us how we build out our custom logos, how the process works and what a custom logo costs.
Step 1: Inquiry
You’ve done your homework, and have been looking into a new logo for your business. You’ve found us, and contact us via email or over the phone about your logo. We couldn’t be happier you’ve chosen to give us a shout!
Step 2: Idea or Concept
Everything starts with an idea, and it’s a lot easier if you’ve got one. The more information you can give us, the faster and more affordable we can make the process. A logo is an important part of your business identity, and it should be iconic, easily read, and memorable. Before we begin it’s imperative we have all your ideas. Even if they’re chicken scratch on a napkin, don’t hesitate to scan it, or snap a digital picture of it and send it in. Your drawings help more than you know.
Step 3: Quote
Please contact us for a quote on your project.
Step 4: Research & Gathering
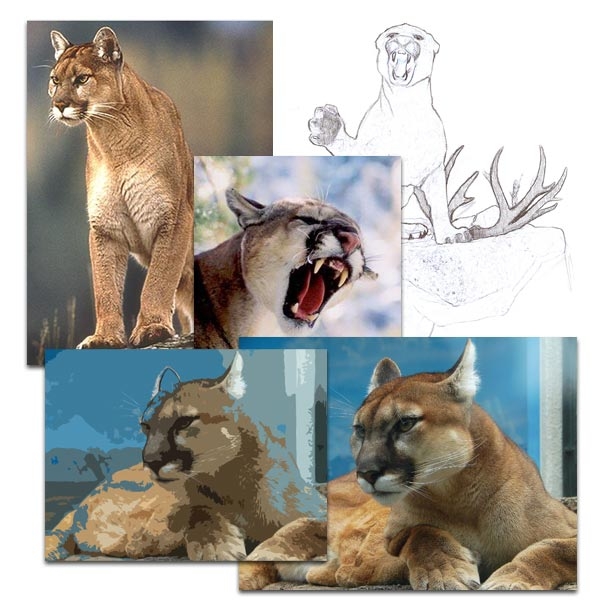
If you’ve chosen for us here at 3plains to locate and source all the reference materials for your logo concept, or you’ve asked us to concept for you then this is a crucial step for us to get your logo just the way you want.

We consult with you asking specific questions to get to the heart of what your logo should become. We take that information and go to work gathering reference images, or creating them from scratch just for you and your logo. This is why filling out our logo form with as much detail as possible is so important!
Step 5: Concept Roughs
After we have good reference materials and a solid concept to work from (whether we’ve created and gathered these things or you’ve provided them for us) we begin to build your logo.

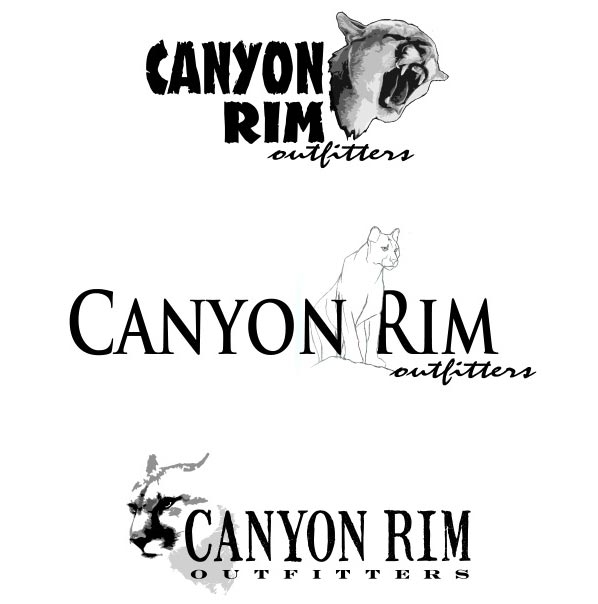
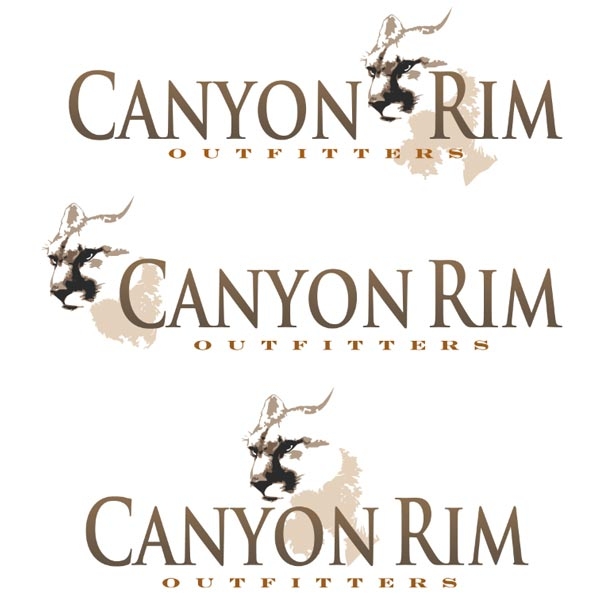
Often this begins as drawings on paper, but quickly progresses to computer digital mock ups that include font choices for your text and placement of an icon such as that monster buck. In this stage you may see drawings, digital mock ups or both.
Step 6: Logo Revisions & Client Feedback
Now that you’ve seen some rough concepts you can actually look at, sit with, and show to others, it’s time to give us your feedback so we can move toward your final logo. We listen to that feedback, make necessary changes, and flesh things out, then send you new mock ups to look at. This process can be repeated up to as many times as your package allows. If you need more revisions on your chosen concept, or your concept idea changes, additional revisions and design time must be purchased at this time.

This is the stage that can take the most time, since it relies on correspondence. We understand you may be sitting in a deer stand or chasing a nice bull elk instead of sitting in front of your computer, but the faster we get the necessary feedback, the faster we can implement your thoughts and changes.
Step 7: Final Revision
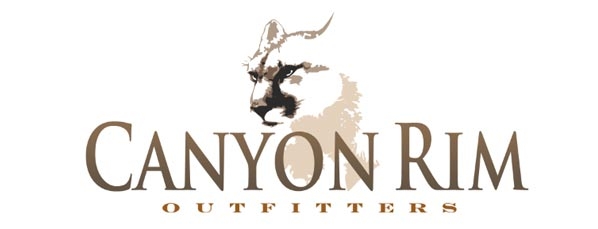
Once we have a thumbs up from you we can prepare the final logo files. These files may require a few minor tweaks in order to perform professionally for output.

We make sure you have everything you need for your new logo to appear wherever you may need to reproduce it.
Step 8: Final Delivery
Once we have all the final logo files finished you’ll receive 5 versions of the logo, 3 standard and 2 Vector in a zip file. Print shops will usually ask for vector files, but make sure to double check with the shop you choose. Learn More Here.
Posted in: Logo Design, Branding