Content Editing 101

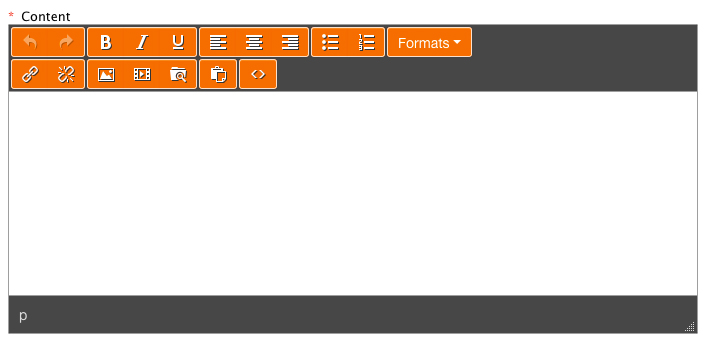
What is a WYSIWIG and why do I need to use one? I’m sure a lot of people have heard the term before without really knowing what it is. If you’ve ever entered text into a textarea on a website, and there are controls above it with things like font size, bold or italic, and other options you’re using a WYSIWYG. It stands for “What You See Is What You Get.”
The problem here is that with all the editors out there, and all the different browsers with individual rules on how to handle WYSIWYG text, you really don’t get “what you see” most of the time. I’d like to believe that in 2016 someone out there figured this out and came up with a good solution for everyone, but sadly that is not the case. If anything it’s gotten worse over the last 5 years with the introduction of new systems like WordPress and Squarespace.
So what do we do? We use a WYSIWYG in our Content Management System (CMS) because many of our clients like to be able to modify their site content with boldface, italics, larger font sizes or bulleted lists, or even with an inserted image or video.

The problem of course is that if a user writes their page content in a program like Microsoft Word, and then pastes that content into the WYSIWYG, a lot of CSS and formatting will be pasted in there as well, which can really affect how that content looks on the website.
We are currently developing better options for content control in our CMS, but unfortunately the WYSIWYG will always be an option for people who want that amount of control of their content. So here are some recommendations from 3plains on handling your page content.
- Start by writing your content in another program so you can save it and modify it as you like before you paste it into the WYSIWYG in the CMS. If you use Google Docs or Microsoft Word, keep in mind you’re going to need to clean up the text either before you paste it in, or AS you paste it. If you want to save yourself some time, please use a plain text editor like Notepad (Windows) or TextEdit (Mac) so you can simply write content without worrying about hidden formatting. NOTE: Be sure you choose plain text for the document type!
- Try to minimize the use of different fonts, font sizes or the amount of images inside the content. Let’s handle that in the WYSIWYG. For now, just write the content with line breaks and prepare to modify it inside the WYSIWYG.
-
Now it’s time to paste that content into the textarea. Here you have two options. You can paste it as usual, and manually go in and clean up the content (not recommended) or you can use a keyboard shortcut to paste the content AS plain text. Here are the commands for Windows and Mac OS. Please note, they are normal paste commands plus an extra button or two.
- Windows: Control+Shift+V
- Mac: Shift+Option+Command+V
- Now that your text is pasted, hit save and check out the content on the website to verify all the proper text is there. Please note this removes ALL formatting to ensure you have clean, plain text.
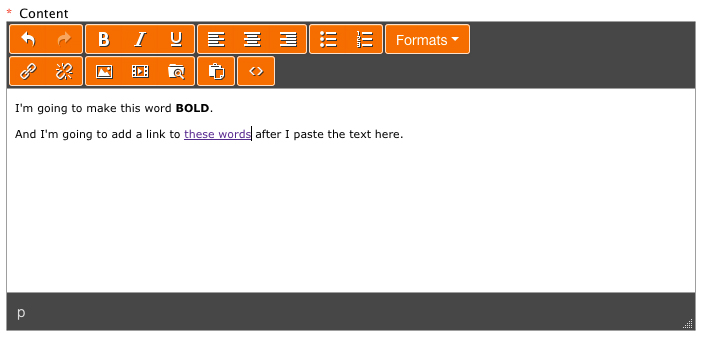
- Now if you would like to add some links, bold font, header tags, lists, or images you can do that since the text in the WYSIWYG is clean. Simply highlight the text and use the controls, or insert an image as needed.

I realize this might seem like a lot of work, but unfortunately this is the world we live in. There is a fine line between too much control and not enough options. While we work on creating a better user experience for you, please use the steps above a few times until you’re comfortable with the process. I definitely recommend simply using Notepad (Windows) or TextEdit (Mac) to write content so you don’t need to do anything special when pasting, but if you’re more comfortable with another program, just be aware of the extra steps when adding that content to your website.
We’re always here to answer questions so please reach out if you need help, or check out our FAQ on the topic!